Deploying Tabby on a VPS: Creating Your Own AI Coding Assistant (Self-hosted GitHub Copilot alternative)
TL;DR
In this guide, we will deploy Tabby — a modern self-hosted alternative to GitHub Copilot — on a dedicated virtual server. This will allow you to get a powerful code completion tool based on large language models (LLMs) while maintaining full control over your source code and privacy. We will set up Docker containers, ensure security via SSL encryption, and connect the assistant to popular IDEs.
- Privacy: Your code never leaves your server.
- Cost Savings: No monthly subscriptions per user.
- Flexibility: Ability to choose models (StarCoder, DeepSeek, CodeLlama) for specific tasks.
- Performance: Optimization for CPU and GPU architectures relevant in 2026.
- Integration: Support for VS Code, JetBrains, Vim/Neovim via official extensions.
Need a dedicated server?
Compare prices from top providers. Configure and order in minutes.
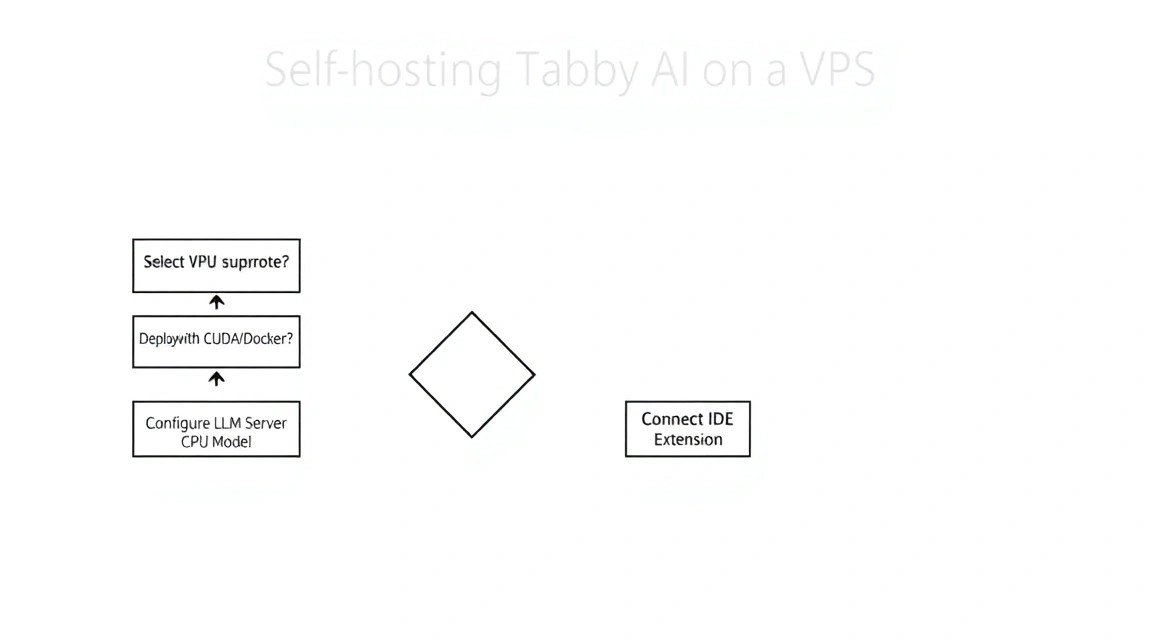
1. What we are setting up and why
Programming in 2026 is unthinkable without AI assistants. However, using cloud solutions like GitHub Copilot or ChatGPT involves risks: proprietary code leakage, dependence on the stability of external services, and constantly rising subscription costs. Tabby solves these problems by offering an open-source engine for running LLMs (Large Language Models) optimized specifically for writing code.
Tabby is not just a wrapper around a model; it is a full-fledged backend that indexes your local repositories to provide contextual code completion. It supports modern quantization techniques, allowing heavy models to run even on consumer hardware or inexpensive VPS without dedicated graphics cards (using only CPU and fast AVX-512 instructions).
What you will get in the end:
- Your own API server compatible with modern AI extension protocols.
- A web interface for model management and load monitoring.
- Full independence from Western cloud providers.
- The ability to fine-tune the model on your company's codebase.
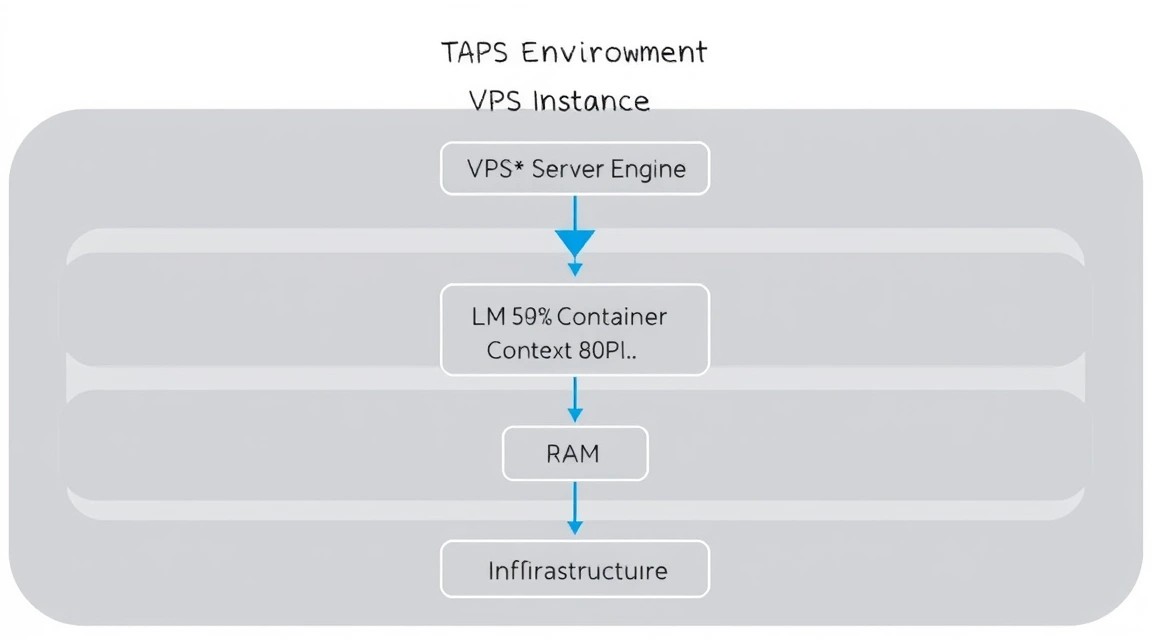
2. What VPS configuration is needed for this task
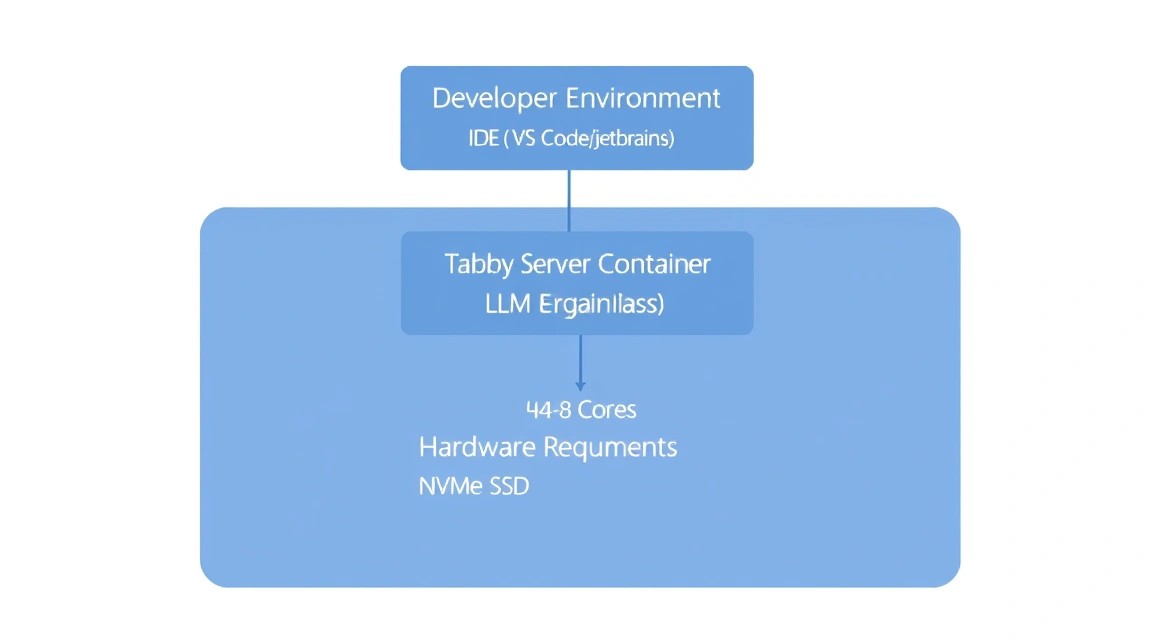
Choosing the hardware for Tabby is critically important, as LLM performance directly depends on memory access speed and processor computing power. In 2026, the standard for comfortable work is models ranging from 3B to 7B parameters in quantized form (4-bit or 8-bit).
| Feature | Minimum (1 user) | Recommended (team of 3-5 people) | Maximum (GPU acceleration) |
|---|---|---|---|
| CPU | 2-4 vCPU (with AVX2 support) | 8+ vCPU (Modern AMD/Intel) | 4+ vCPU + NVIDIA GPU (8GB+ VRAM) |
| RAM | 8 GB DDR4/DDR5 | 16-32 GB DDR5 | 16 GB + VRAM graphics card |
| Disk | 40 GB NVMe SSD | 100 GB NVMe SSD | 200 GB NVMe SSD |
| OS | Ubuntu 24.04 / 26.04 LTS | Ubuntu 24.04 / 26.04 LTS | Ubuntu + NVIDIA Drivers |
For stable operation without latency during code generation, it is crucial to use NVMe drives, as model weights are loaded into memory quickly, but repository indexing creates a high I/O load. If you plan to use models like DeepSeek-Coder-7B, aim for at least 16 GB of RAM.
For most individual developers and small teams, an appropriate VPS with 4-8 cores and a fast NVMe disk will be the optimal choice. If your codebase consists of millions of lines, you should consider an appropriate dedicated server to avoid "noisy neighbors" and use the full power of the CPU for inference.
Server location: Choose a data center with minimum ping to your workplace. A latency of 100-150 ms with every keystroke can make using an AI assistant uncomfortable.
3. Server preparation
After gaining access to the server, it is necessary to perform basic security configuration. We will create a separate user, set up a firewall, and update system packages.
Connect via SSH:
ssh root@your_server_ip
Update the system to the current state:
apt update && apt upgrade -y
Create a user for working with Tabby (running AI services as root is bad practice):
adduser tabbyuser
usermod -aG sudo tabbyuser
Set up a basic firewall (UFW). We will need ports 22 (SSH), 80 (HTTP), and 443 (HTTPS):
ufw allow 22/tcp
ufw allow 80/tcp
ufw allow 443/tcp
ufw enable
Set the time zone and useful utilities:
timedatectl set-timezone Europe/Moscow
apt install -y curl git vim htop fail2ban
Need a dedicated server?
Compare prices from top providers. Configure and order in minutes.
4. Installing Docker and necessary utilities
Tabby is officially distributed as Docker images. This is the most stable deployment method as it isolates model dependencies and inference libraries.
Install Docker via the official script:
curl -fsSL https://get.docker.com -o get-docker.sh
sudo sh get-docker.sh
Add our user to the docker group to avoid using sudo constantly:
sudo usermod -aG docker tabbyuser
Important: Log out and log back into the terminal for the permissions to take effect.
Check functionality:
docker --version && docker compose version
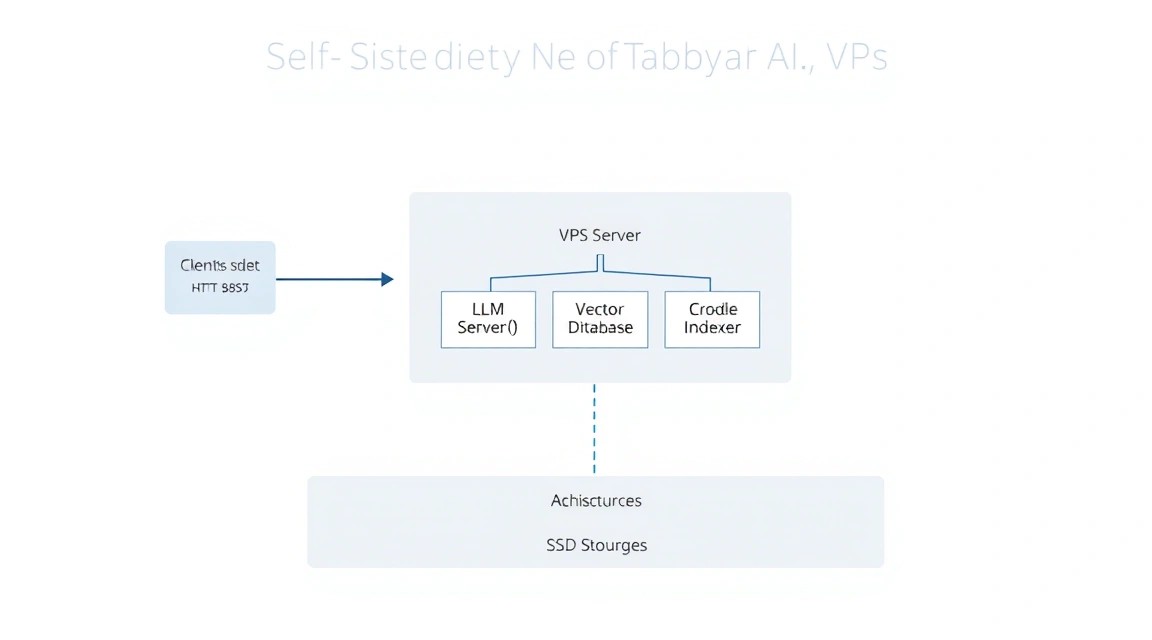
5. Deploying Tabby: step-by-step installation
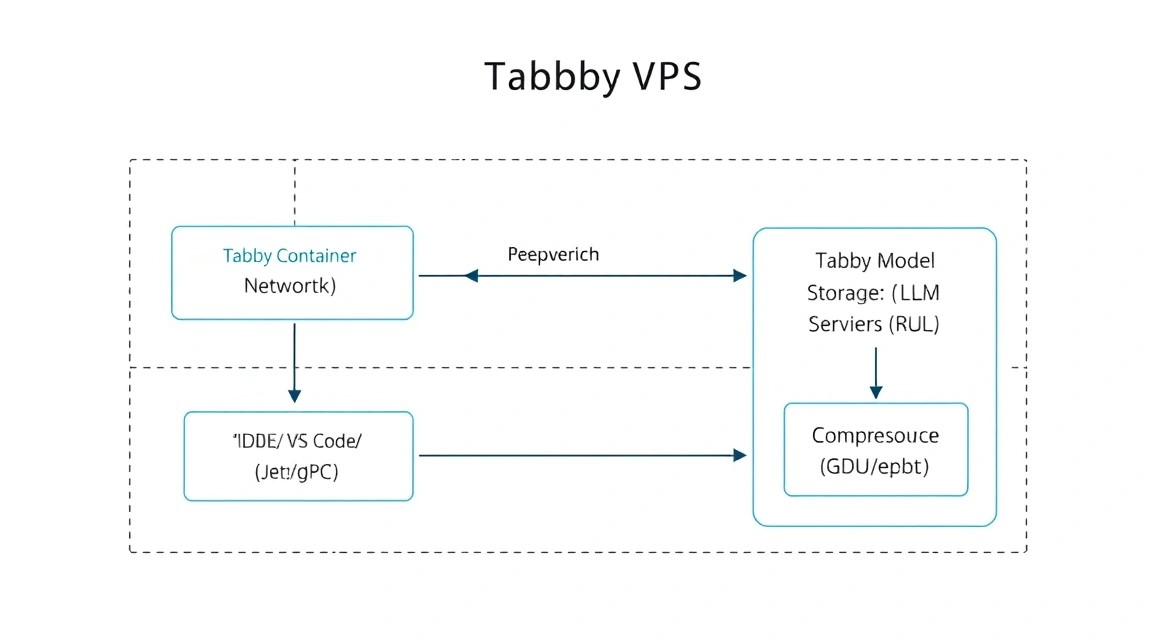
We will use Docker Compose to manage the Tabby container. This will allow for easy model updates and configuration saving.
Create a directory for the project:
mkdir ~/tabby-server && cd ~/tabby-server
Create a docker-compose.yml file. In this example, we use a configuration for CPU inference, which is suitable for most VPS. We will choose the StarCoder2-3B model, which is well-balanced in terms of speed and quality.
cat < docker-compose.yml
version: '3.8'

services:
  tabby:
    image: tabbyml/tabby:latest
    container_name: tabby
    restart: always
    ports:
      - "8080:8080"
    volumes:
      - ./data:/data
    command: serve --model StarCoder2-3B --device cpu
EOF
Let's break down the startup command parameters:
--model StarCoder2-3B: Tells Tabby to automatically download and use this model.--device cpu: Explicitly specifies using the central processing unit. If you have a GPU, replace it withcuda.--port 8080: Internal server port.
Start the server (the first run will take time as the image and model weights are downloaded — about 2-5 GB):
docker compose up -d
You can check the model download status via the logs:
docker compose logs -f
When you see the message Listening at 0.0.0.0:8080, the server is ready for work.
6. Configuration: domain, SSL, and security
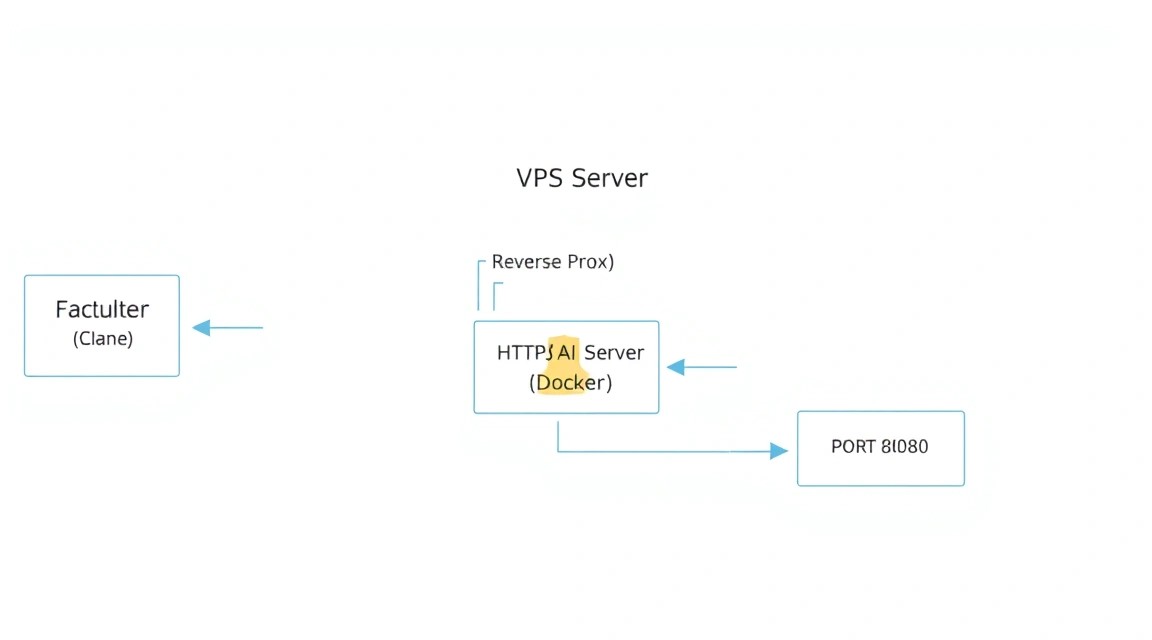
Opening port 8080 directly to the internet is unsafe. We will set up a reverse proxy using Caddy. Caddy will automatically obtain SSL certificates from Let's Encrypt and configure HTTPS.
Create a Caddyfile in the same directory:
cat < Caddyfile
ai.yourdomain.com {
    reverse_proxy tabby:8080

    header {
        Strict-Transport-Security max-age=31536000
    }
}
EOF
Replace ai.yourdomain.com with your actual domain or subdomain.
Update docker-compose.yml by adding the Caddy service:
cat < docker-compose.yml
version: '3.8'

services:
  tabby:
    image: tabbyml/tabby:latest
    container_name: tabby
    restart: always
    volumes:
      - ./data:/data
    command: serve --model StarCoder2-3B --device cpu

  caddy:
    image: caddy:latest
    container_name: caddy
    restart: always
    ports:
      - "80:80"
      - "443:443"
    volumes:
      - ./Caddyfile:/etc/caddy/Caddyfile
      - caddy_data:/data
      - caddy_config:/config
    depends_on:
      - tabby

volumes:
  caddy_data:
  caddy_config:
EOF
Restart the stack:
docker compose up -d
Now your AI assistant is available via the secure HTTPS protocol. Go to https://ai.yourdomain.com in your browser. Upon first login, Tabby will prompt you to create an administrator account. This is critically important for protecting your API from unauthorized access.
Need a dedicated server?
Compare prices from top providers. Configure and order in minutes.
7. IDE Setup (VS Code and JetBrains)
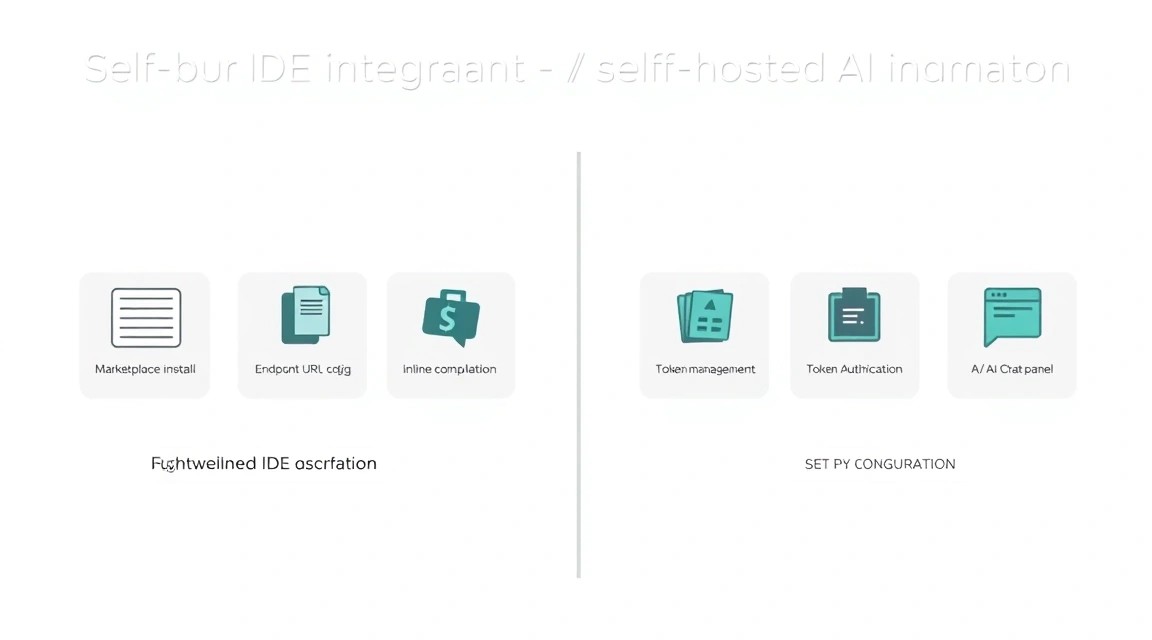
Once the server is running, it needs to be connected to your code editor. Tabby has official extensions for most popular tools.
Visual Studio Code
- Open Extensions (Ctrl+Shift+X).
- Find and install the Tabby extension.
- Click on the Tabby icon in the status bar (bottom right).
- In the Server Endpoint field, enter
https://ai.yourdomain.com. - If you have configured authorization, enter your API Token (it can be found in the Tabby web interface under Settings -> Auth).
JetBrains (IntelliJ IDEA, PyCharm, WebStorm)
- Settings -> Plugins -> Marketplace.
- Install the Tabby plugin.
- Settings -> Tools -> Tabby.
- Specify your server address and API key.
Verification: Start writing a function, for example def get_weather(city):. After a second, Tabby should suggest a code completion in gray text. Press Tab to accept the suggestion.
8. Backups and Maintenance
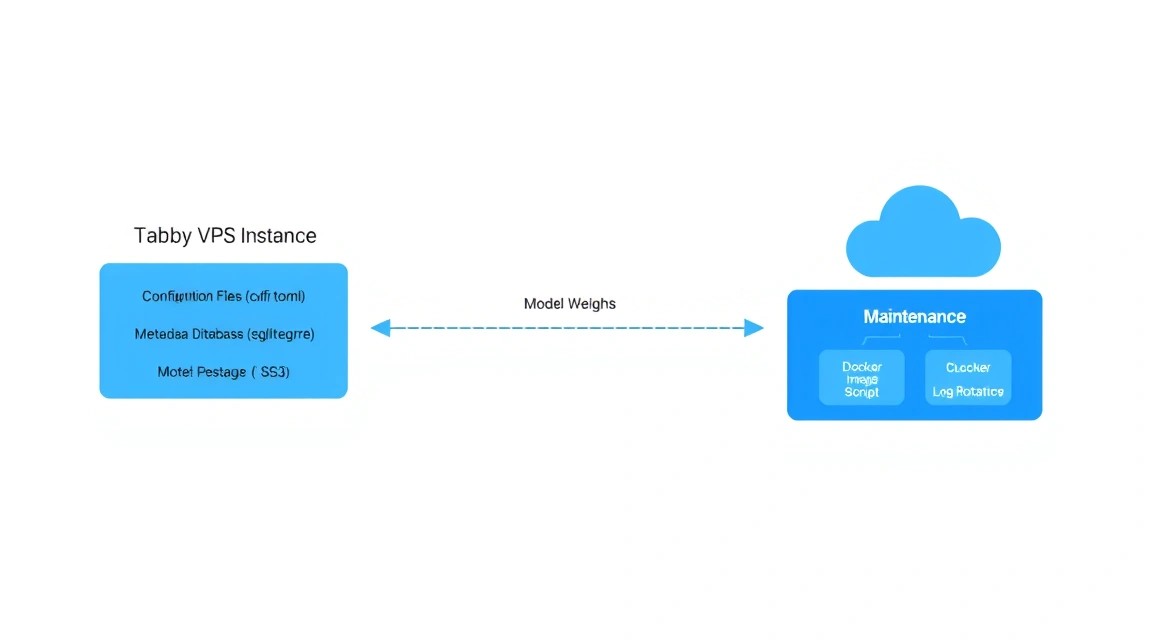
An AI server requires regular maintenance. Tabby's main data is stored in the ./data folder, which we mounted into the container. It contains your repository indexes, user settings, and downloaded models.
What needs to be backed up:
- The
docker-compose.ymlandCaddyfilefiles. - The
./data/configdirectory (where tokens and settings are located). - The SQLite database (usually
./data/tabby.db).
A simple script for daily backup to a local folder:
#!/bin/bash
BACKUP_DIR="/home/tabbyuser/backups"
TIMESTAMP=$(date +"%Y%m%d_%H%M%S")
mkdir -p $BACKUP_DIR

# Останавливаем контейнер для консистентности БД
cd /home/tabbyuser/tabby-server
docker compose stop

# Создаем архив
tar -czf $BACKUP_DIR/tabby_backup_$TIMESTAMP.tar.gz ./data Caddyfile docker-compose.yml

# Запускаем обратно
docker compose start

# Удаляем бэкапы старше 7 дней
find $BACKUP_DIR -type f -mtime +7 -name ".gz" -delete
Add this script to crontab -e for automation:
0 3 /home/tabbyuser/tabby-server/backup.shUpdating Tabby: Developers frequently release updates with optimizations. To update, run:
docker compose pull
docker compose up -d
9. Troubleshooting + FAQ
Why is code generation too slow?
The main reason is a lack of CPU power or lack of support for AVX-512 instructions. Make sure your VPS is not overloaded with other processes. Also, try switching to a lighter model, for example, from 7B to 1.1B or 3B. If you are using Docker, ensure you haven't limited the container's resources in the config.
"Out of Memory" (OOM) error on startup
LLM models are loaded entirely into RAM. A 7B model in 4-bit quantization requires about 5-6 GB of free memory + a margin for the system itself. If you have 8 GB of RAM, close unnecessary services or add a Swap file (though this will significantly slow down performance).
How to connect private repositories for context?
In the Tabby web interface, go to the "Repositories" section. You can add links to Git repositories. Tabby will clone them locally and index them. After that, the assistant will be aware of your internal libraries and coding style.
What is the minimum suitable VPS configuration?
For a minimally comfortable experience (1.1B or 3B model), 4 GB of RAM and 2 CPU cores are sufficient. However, for professional development, we strongly recommend starting with 8-16 GB of RAM, as this will allow you to use "smarter" models like DeepSeek-Coder.
What to choose — VPS or dedicated for this task?
If you are working alone, a high-quality VPS will be enough. If you are deploying Tabby for a team of 10+ people, it's better to get a dedicated server. LLM inference is a CPU-intensive task, and on a VPS, you might encounter performance degradation due to neighbors on the hypervisor.
Is it safe to store code in Tabby?
Yes, this is one of the main reasons for switching to self-hosted. All code is stored in a Docker volume on your server. If you have configured HTTPS and a complex administrator password, only you will have access to the data. Tabby does not send telemetry with your code to external servers.
Tabby is not suggesting code options in the IDE, what should I do?
Check: 1. Server status (should be Online). 2. Correctness of the API key. 3. Container logs (docker logs tabby) — look for authentication errors or model loading issues. 4. Firewall — is access to port 443 allowed.
Need a dedicated server?
Compare prices from top providers. Configure and order in minutes.
10. Conclusions and Next Steps
We have successfully deployed our own Tabby AI assistant on a VPS, ensuring privacy and high performance. Now you have a powerful tool that doesn't depend on subscriptions or external APIs. This is the foundation for creating a truly efficient development environment.
What to do next:
- Experiment with models: Try
DeepSeek-Coder-6.7B-Instructif server resources allow — it is considered one of the best in 2026 for Python and JS. - Configure indexing: Add all your company's main projects to Tabby so it can suggest code that takes your specifics into account.
- Monitoring: Install Prometheus and Grafana to track CPU load and response latency of your AI server.
Self-hosting AI is not just about saving money, but also about digital hygiene. In a world where code is a company's main asset, control over the tools used to write it becomes a strategic advantage.